These past several weeks I have been working with a client on my first ever mixed media style commissioned painting. Before opening commissions up to the world, I wanted to go through the trial and error at least one time in private. (When you fail, fail where no one can see it! That’s a poster, right?)
While I was honestly nervous about the idea at first, (What if they hate it?! What if this cramps my free-wheelin’ gypsy artist style?) what I came to realize is it can be just as much fun using someone else’s idea as a springboard to create art as using my own….also the whole “blank canvas haunting my dreams” problem should be eliminated because they have to come up with the idea! Secondly, I discovered doing the preliminary steps properly will help ensure the final product is a success, and even more, a treasured and meaningful addition to a client’s art collection.
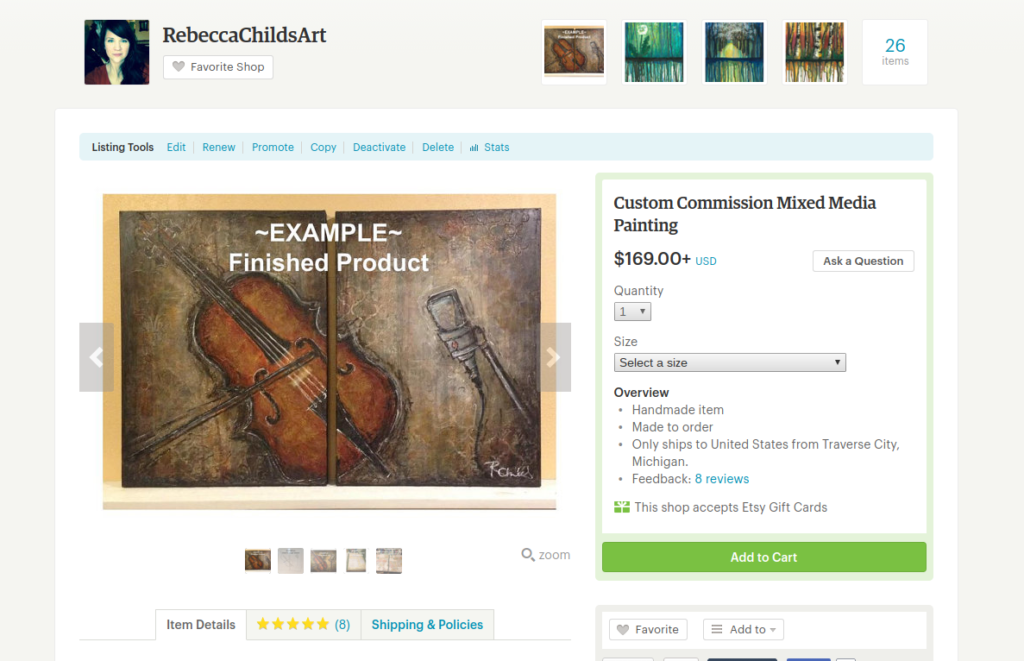
So here is the process we went through, step by step, (and SPOILER: commission pieces are now available to everyone through my Etsy shop).
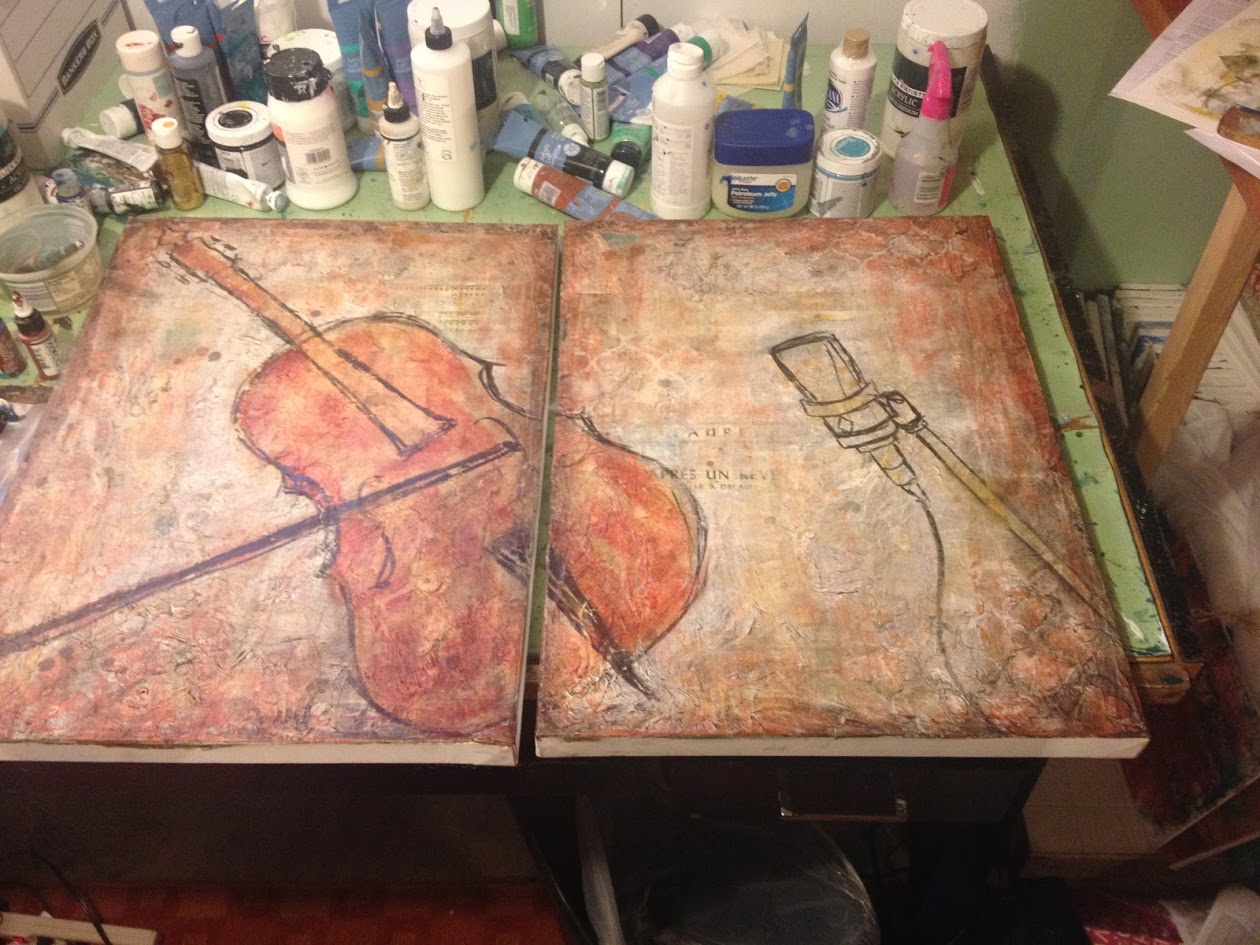
Step 1: Our first order of business was a dialogue about subject matter, size of canvas, color scheme, and layout. Paul (the client) already knew he wanted a cello and a studio mic, two important symbols of his life as a professional musician. He also knew that he liked the look of a background that was pretty neutral in color and used gray tones.
I asked him to carefully study and measure the wall space where he wanted the art to hang. (I don’t even trust my own eye completely when it comes to imagining what the dimensions of a painting will look like in real life without a measuring tape). Once we determined we’d be doing a two panel painting that totaled 24″ x 36″, we talked about the layout.
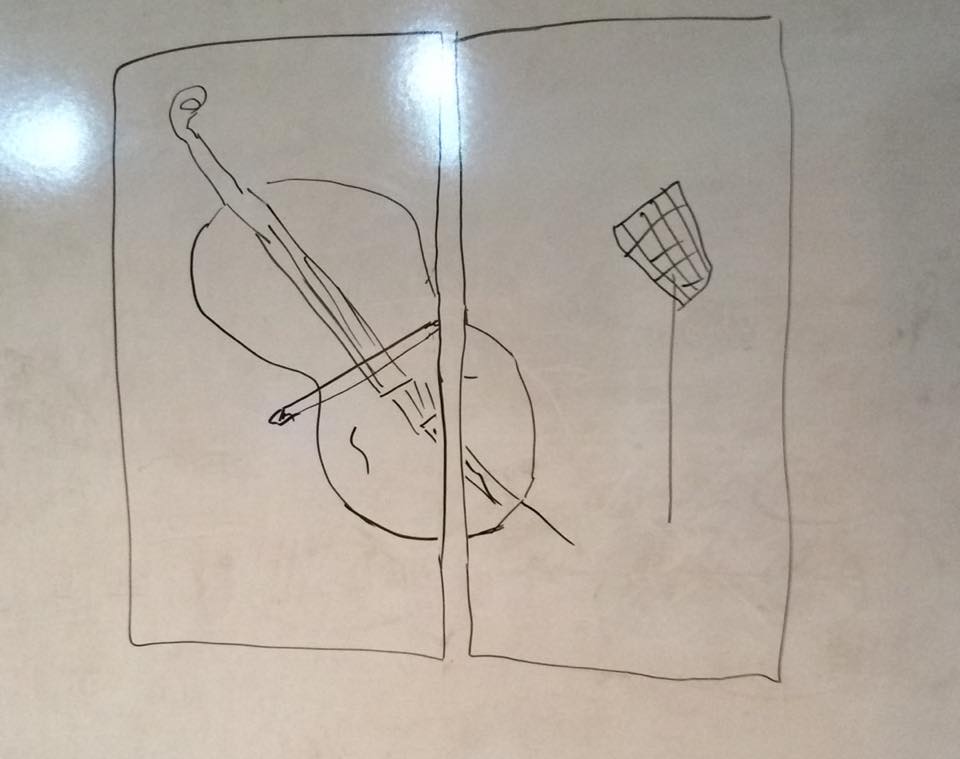
Sometimes a sketch is just the easiest way to be certain both people are envisioning the same thing. Paul graciously sent me something he came up with quickly on a dry erase board so I was at least understanding the positioning of the cello and mic that we talked about. You don’t have to be an artist for this step!
Step 2: I did a mock up and emailed it to Paul for feedback. While it was only done on a sheet of gessoed canvas, I scaled it correctly so it is an accurate representation of what the final piece could look like. I think this step is what is critical to me being on the same page as the client before investing time on the larger piece…and ultimately having a successful finished product. Paul’s feedback helped me make a few adjustments for the final piece. (I lessened the yellow tone in the background, for example).

Step 3: Create the final piece.
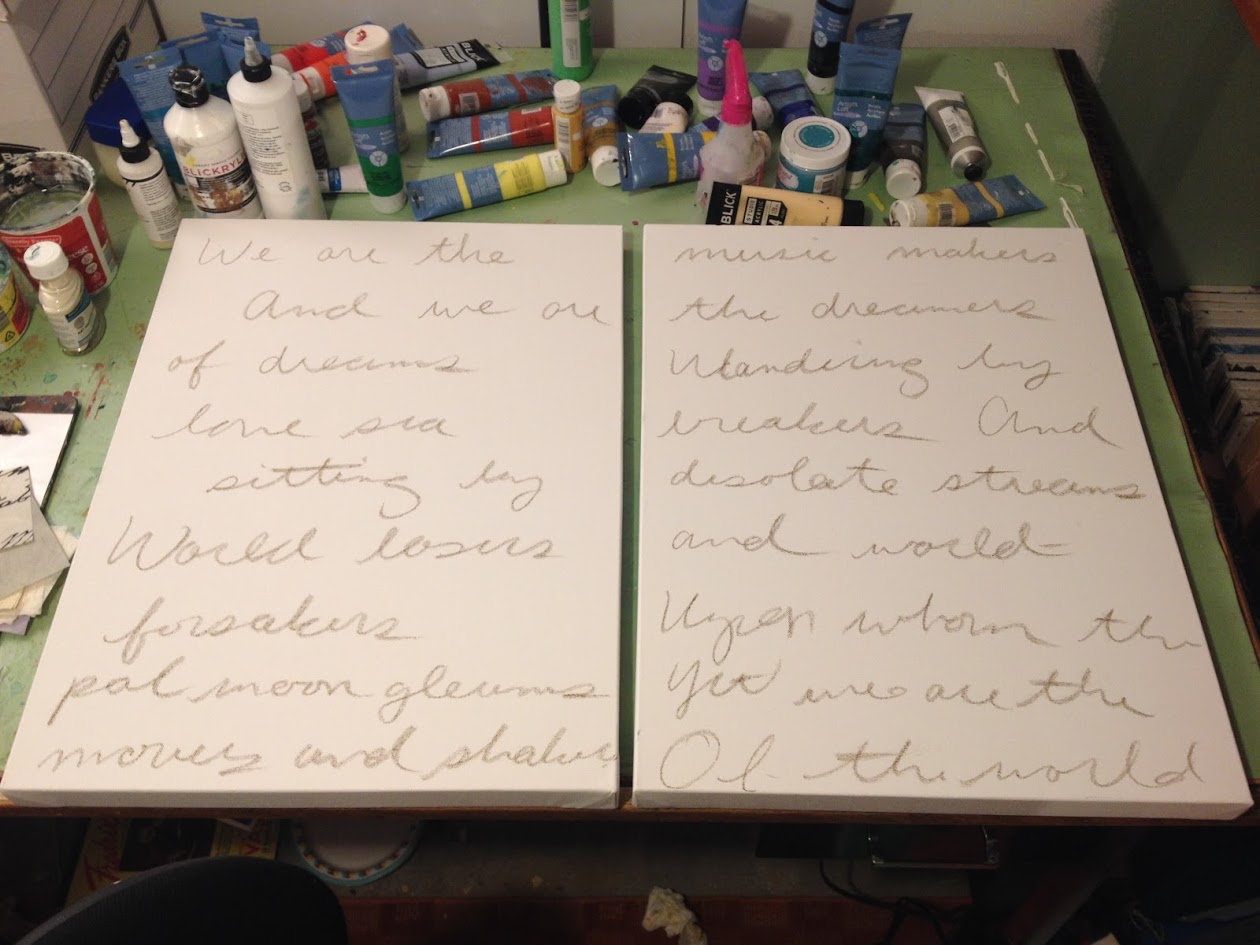
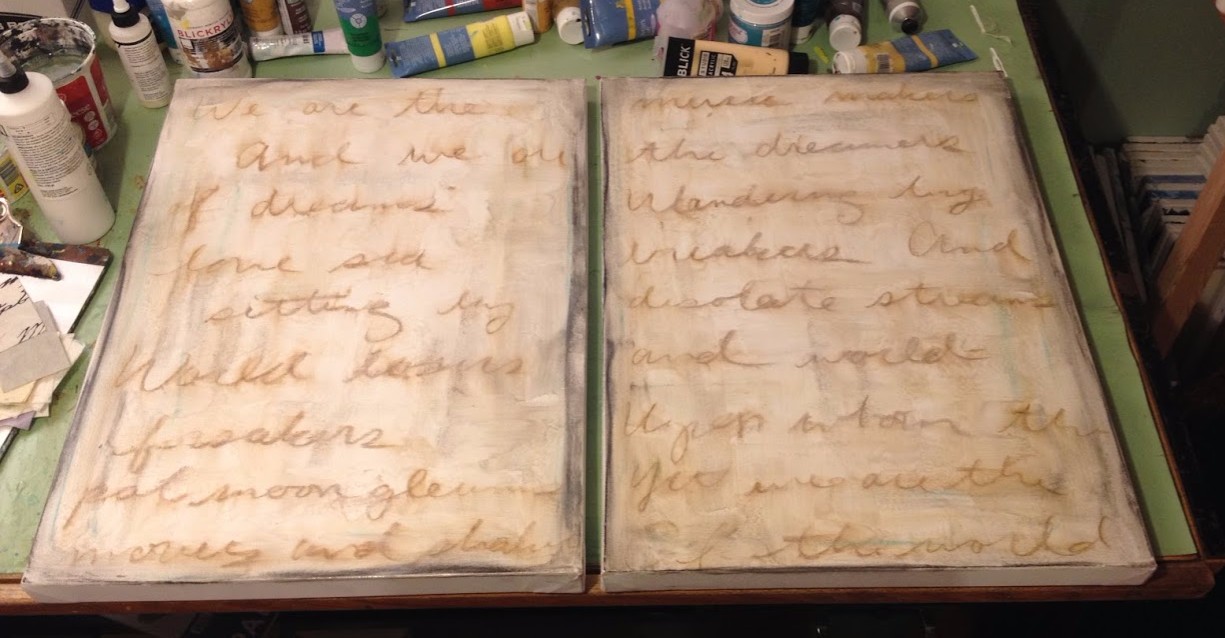
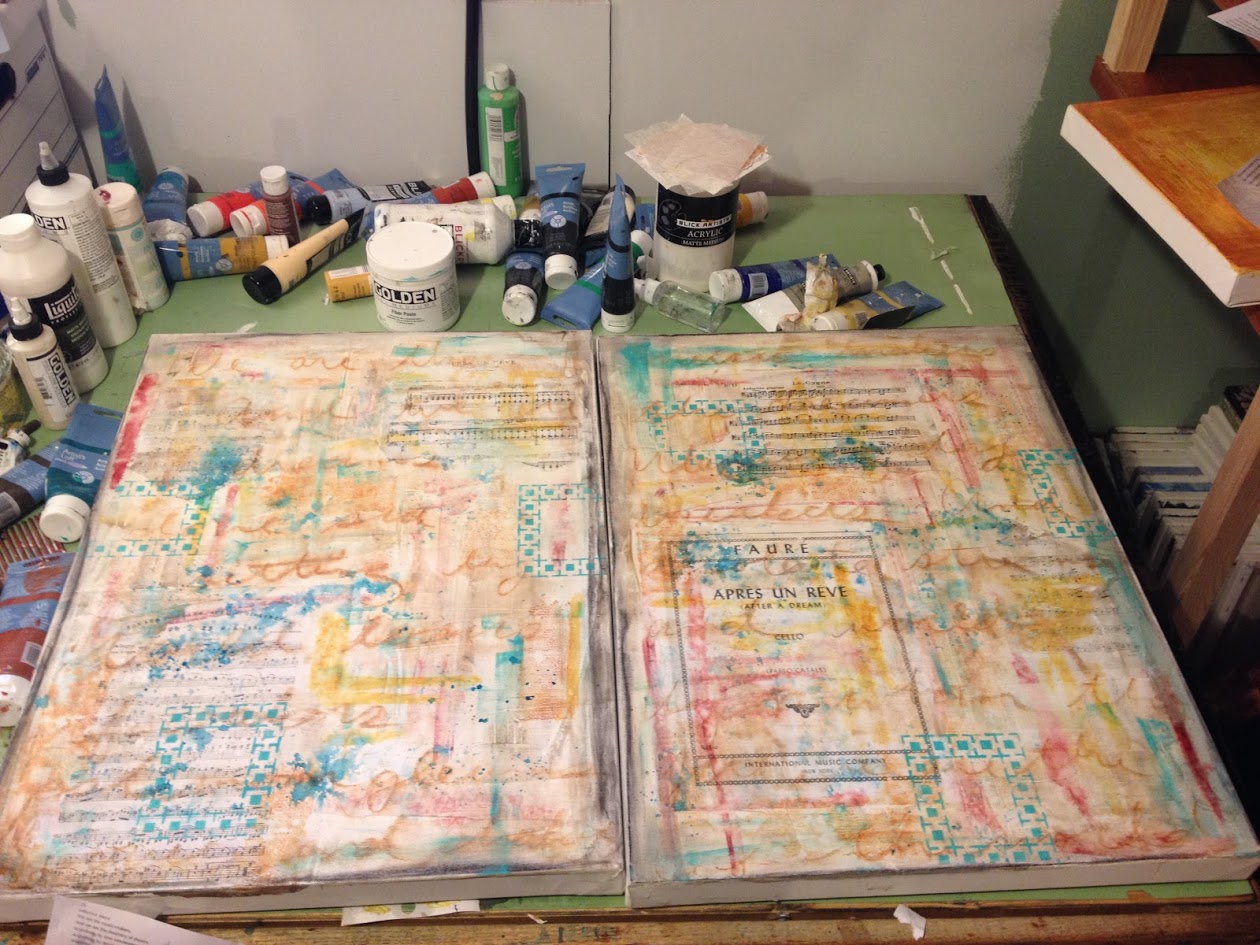
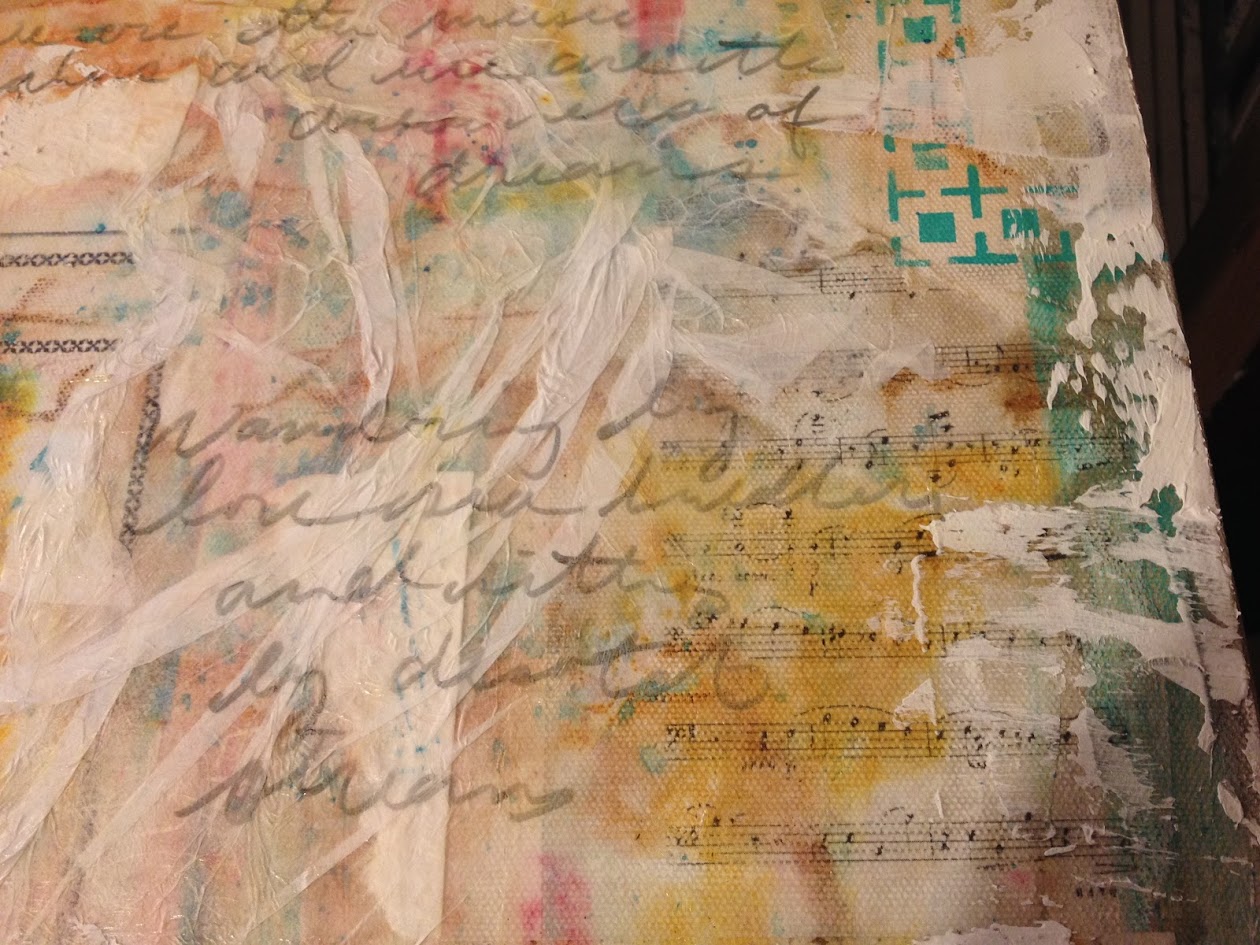
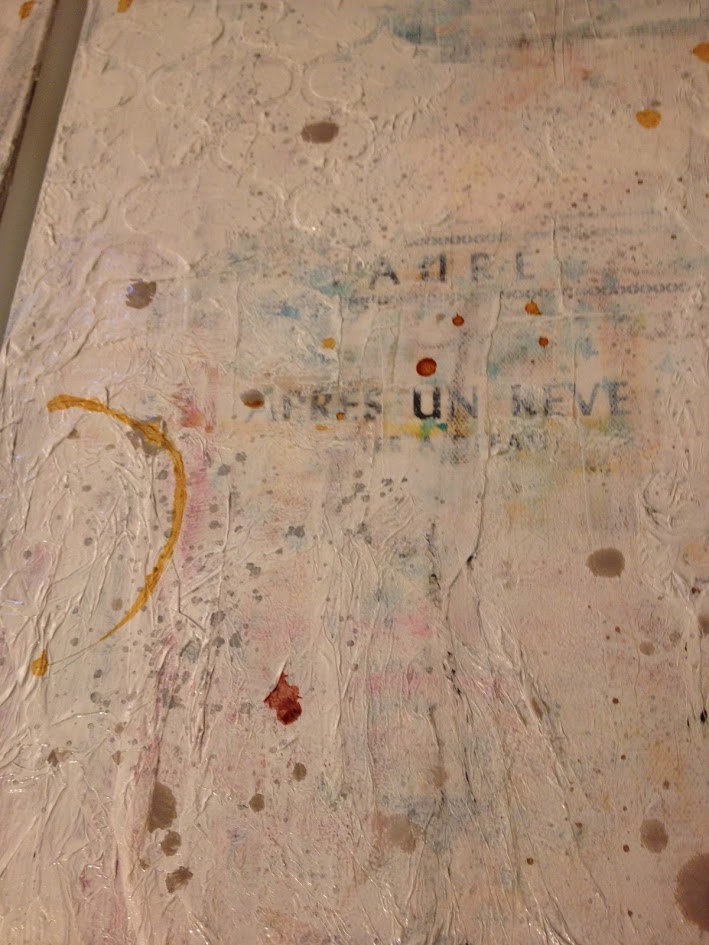
The layering and texturing is where I’m free to just intuitively paint. Since I recently had a show with pieces inspired by poetry, I used a starting method that gets things in motion in an inspiring way–I loosely wrote out the words to a poem about music using chalk pastel.
We are the music-makers,
And we are the dreamers of dreams,
Wandering by lone sea-breakers,
And sitting by desolate streams.
World-losers and world-forsakers,
Upon whom the pale moon gleams;
Yet we are the movers and shakers,
Of the world forever, it seems.
-Arthur O’Shaughnessy
The dust from the chalk pastels blends in nicely with matte medium or acrylic glazing liquid, so I added some black pastel lines around the edges and covered the whole thing with matte medium. This seals it as well, since chalk pastels would smudge and smear to the touch.
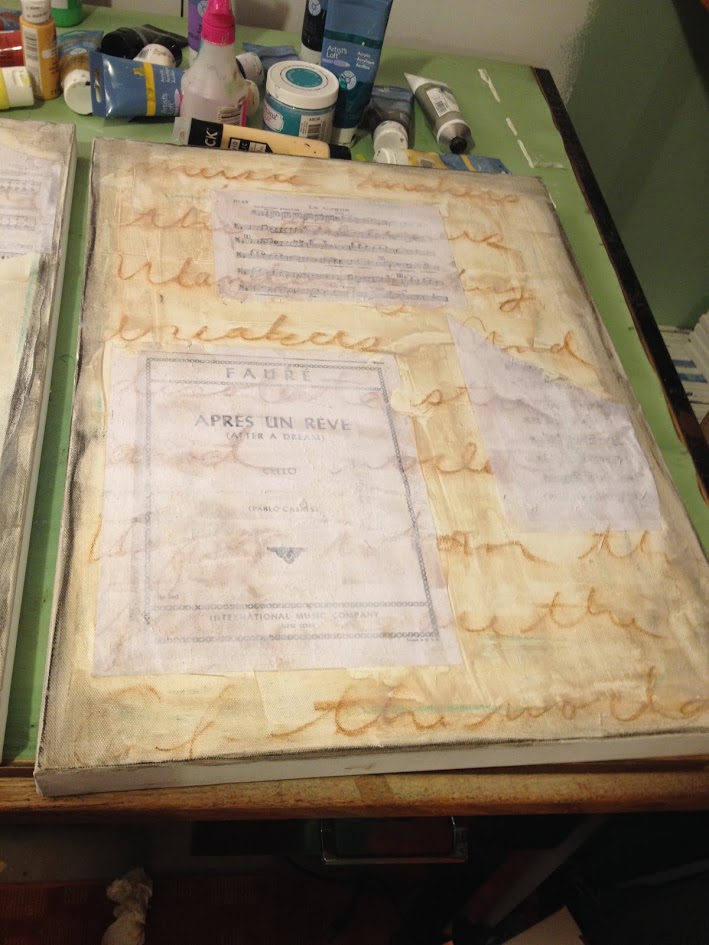
Some of Paul’s favorite cello pieces were turned into image transfers. This is before all of the white paper pulp had been removed.
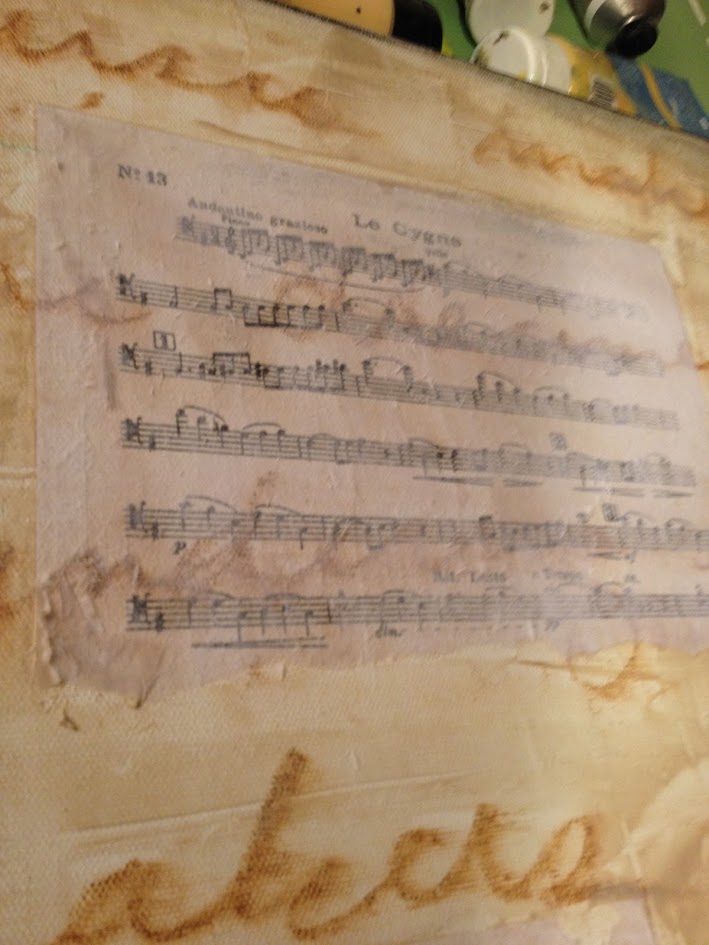
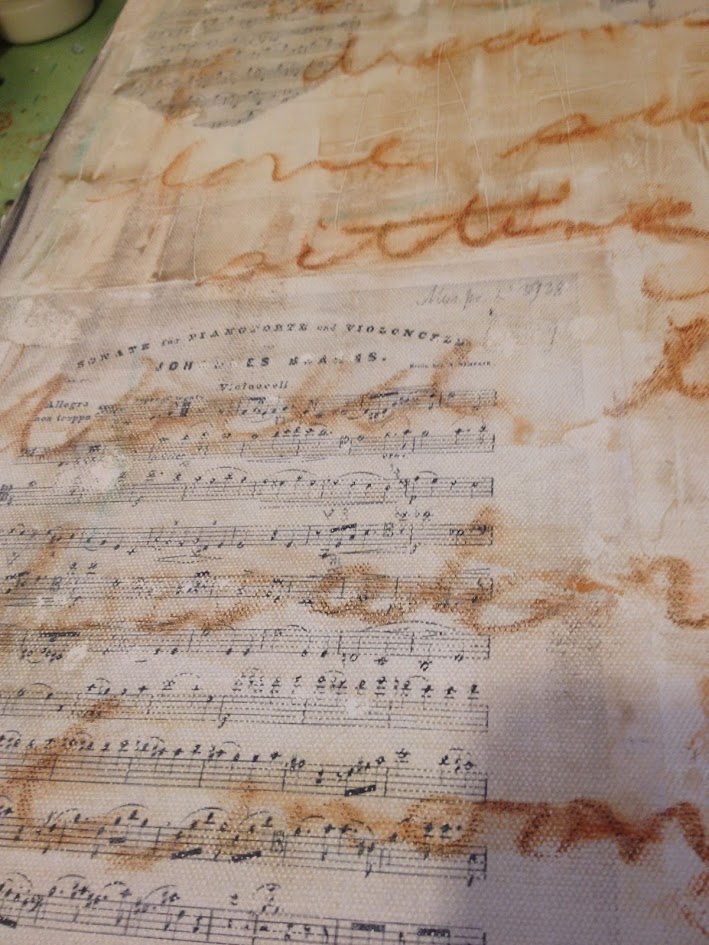
After removing all the pulp, I got a pretty good transfer
Now to make it a little crazy with stencils and knifed on paint. Drips too. I’ve learned with this layering technique that you don’t have to be nervous using bright colors early on–it will be mostly obscured or toned down by the end anyway.

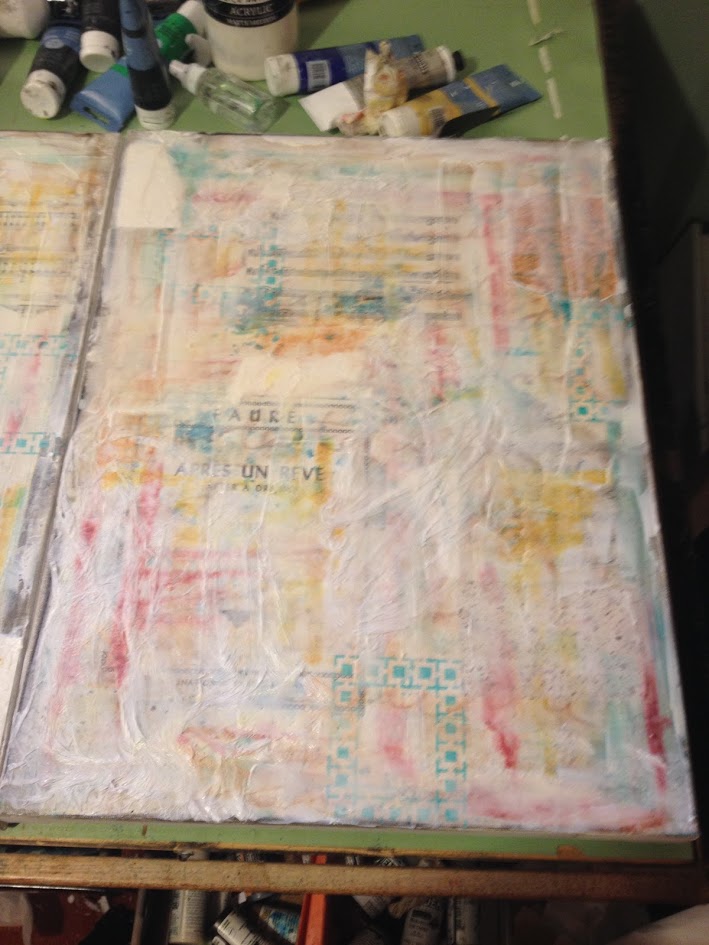
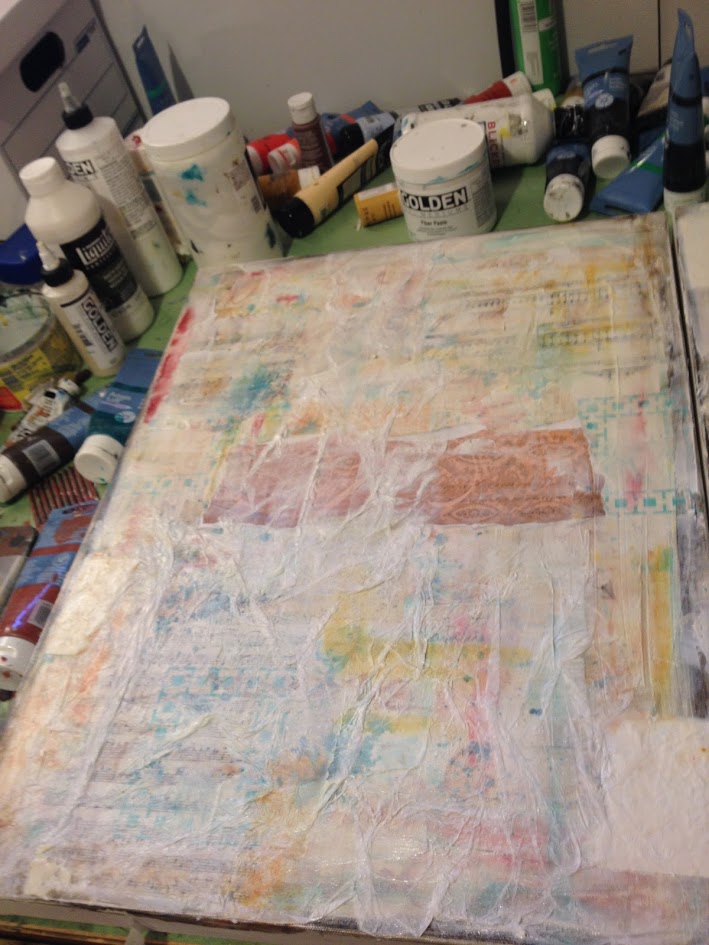
Now for texture! If you’re wondering about the sequence of techniques I use in this painting, I’ve found it’s not as easy to stencil over texture, and it’s REALLY not easy to apply a good image transfer over heavy texture. That’s why I do those when I still have a flat surface. Here I’m applying both heavy paper pieces and white tissue paper, which is fairly transparent. Also knifing on texture with gel medium.
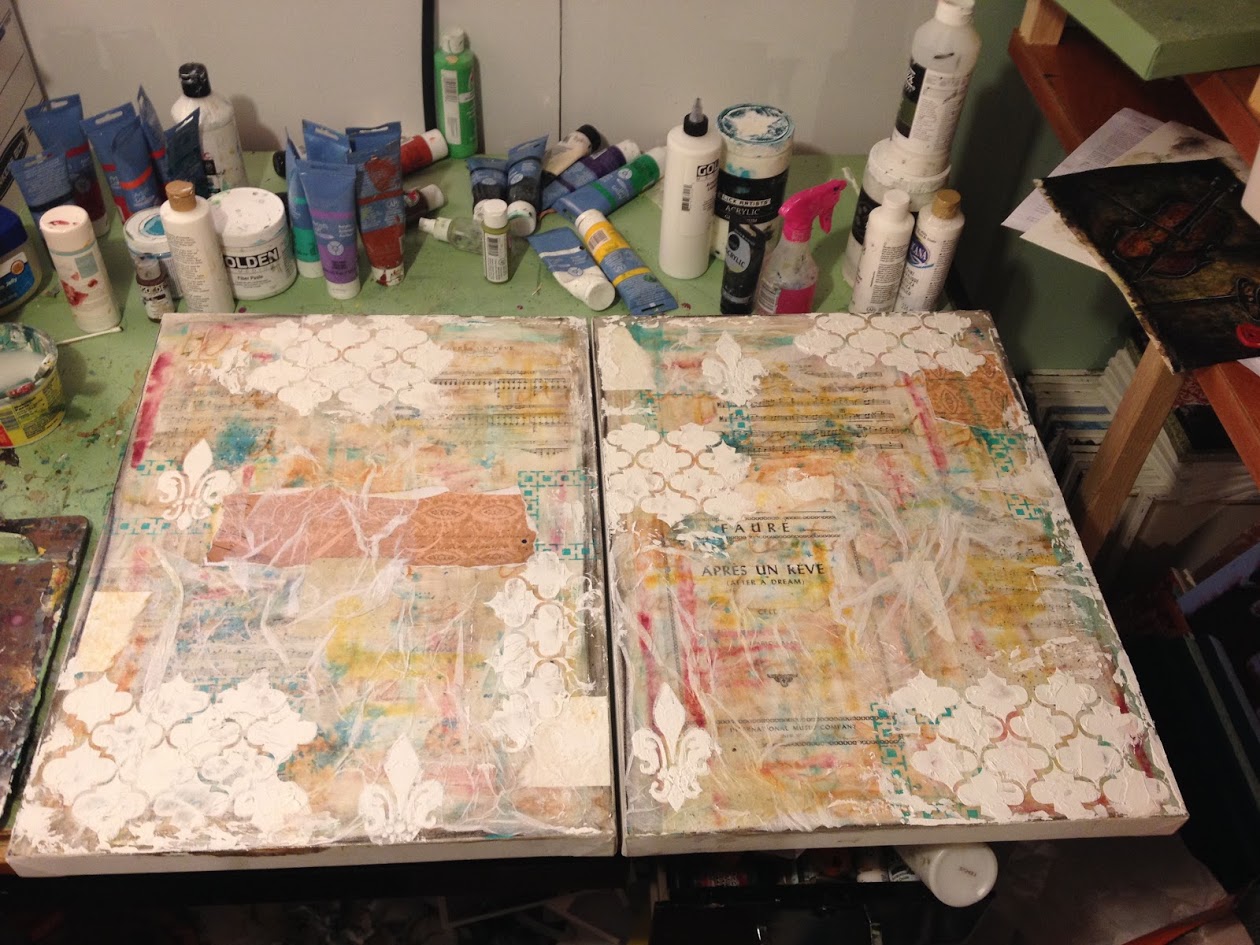
Another texture that’s a favorite technique–Molding/modeling paste knifed through a stencil. This dries opaque, so I tried to pick my locations carefully. Classical music seemed to pair well with these designs to me.
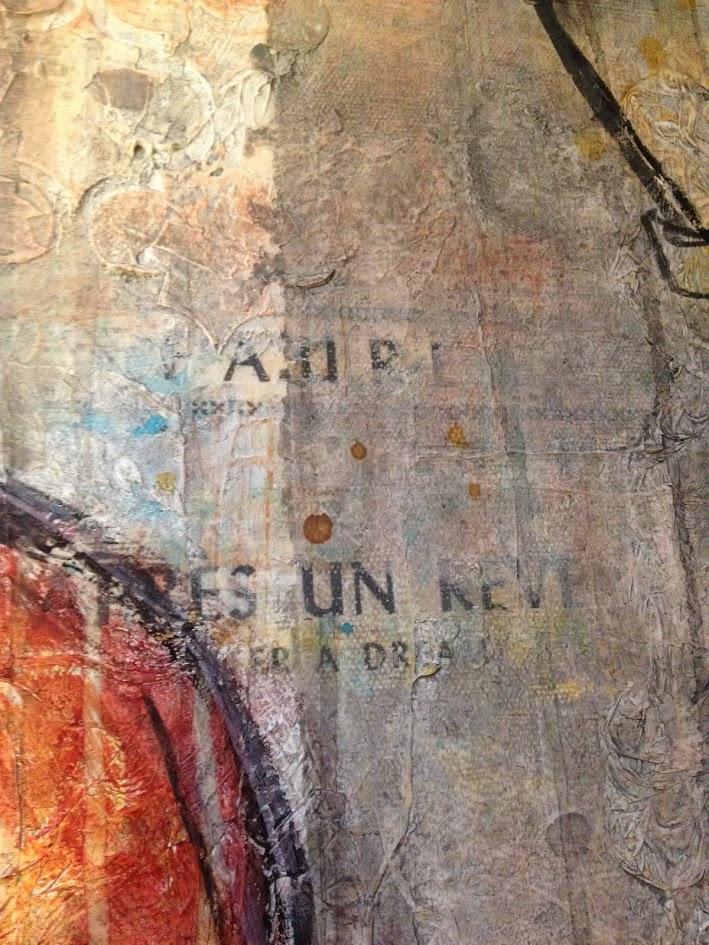
I wrote the poem out again, much smaller this time with a medium gray Pitt pen. My goal isn’t to have super legible writing, just to add to the layers.
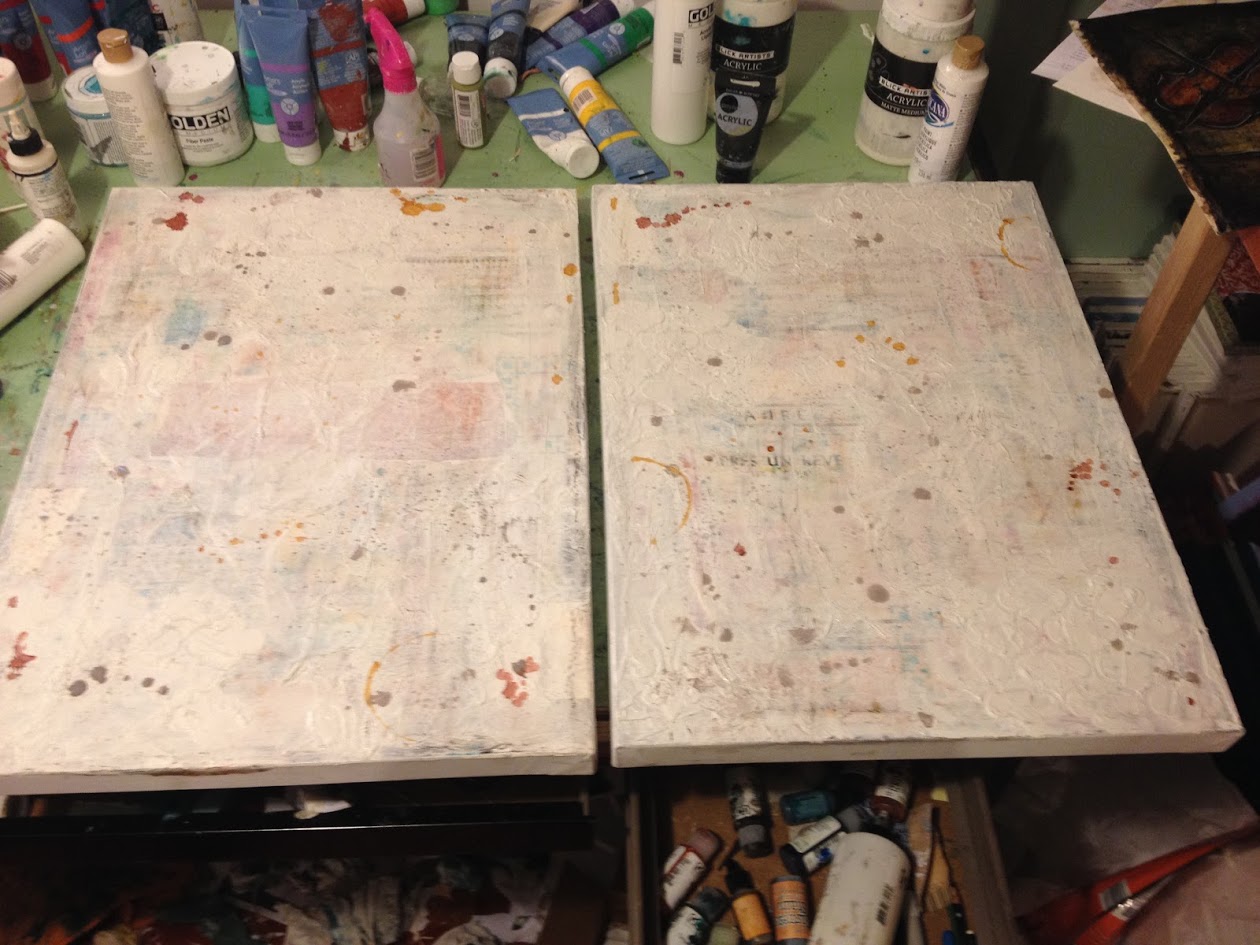
With the texture dried, I knew I would need to unify the background a bit before sketching in the mic and cello. This is a little painful, but I chose to cover with an off white that I went back and rubbed off in places so that parts of my previous work still showed through. I then splattered some gray drips on top.
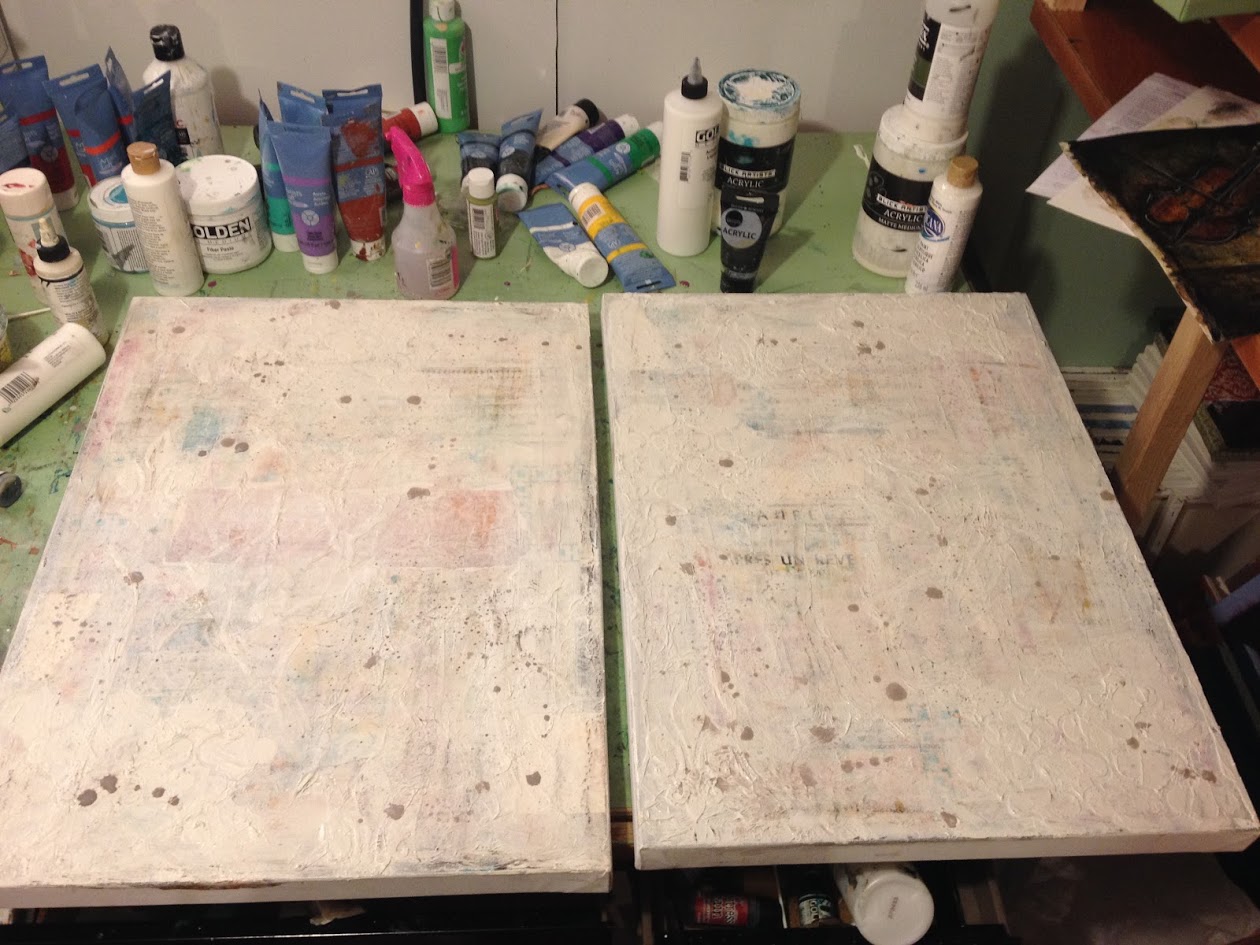
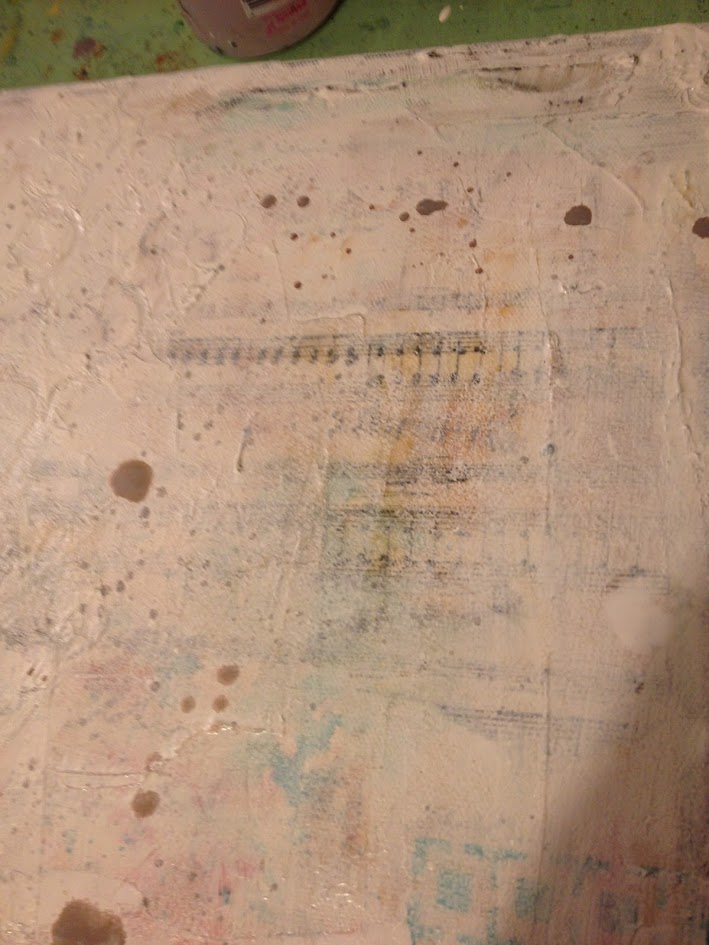
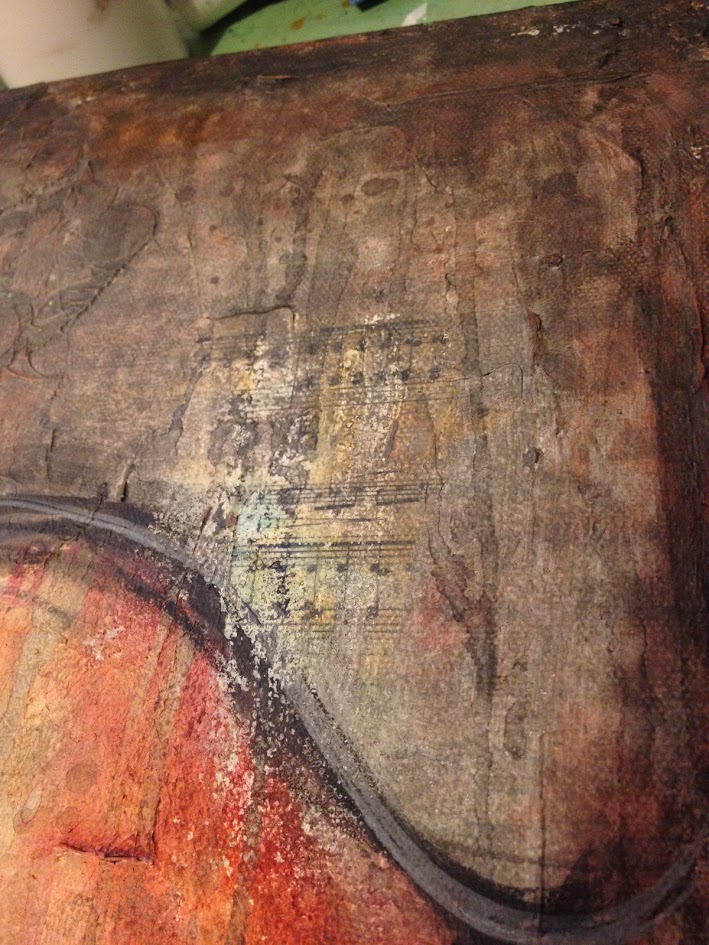
You can still see some music peeking through!
Some alcohol ink drips….
So I could have taken an additional picture between the last one and this one, but all I did was sketch in the main shapes and start building up some color around the edges and in the body of the cello. Even though I wanted the end background to be more neutral in color, the red tone would add a depth so it wasn’t a boring one-note gray.
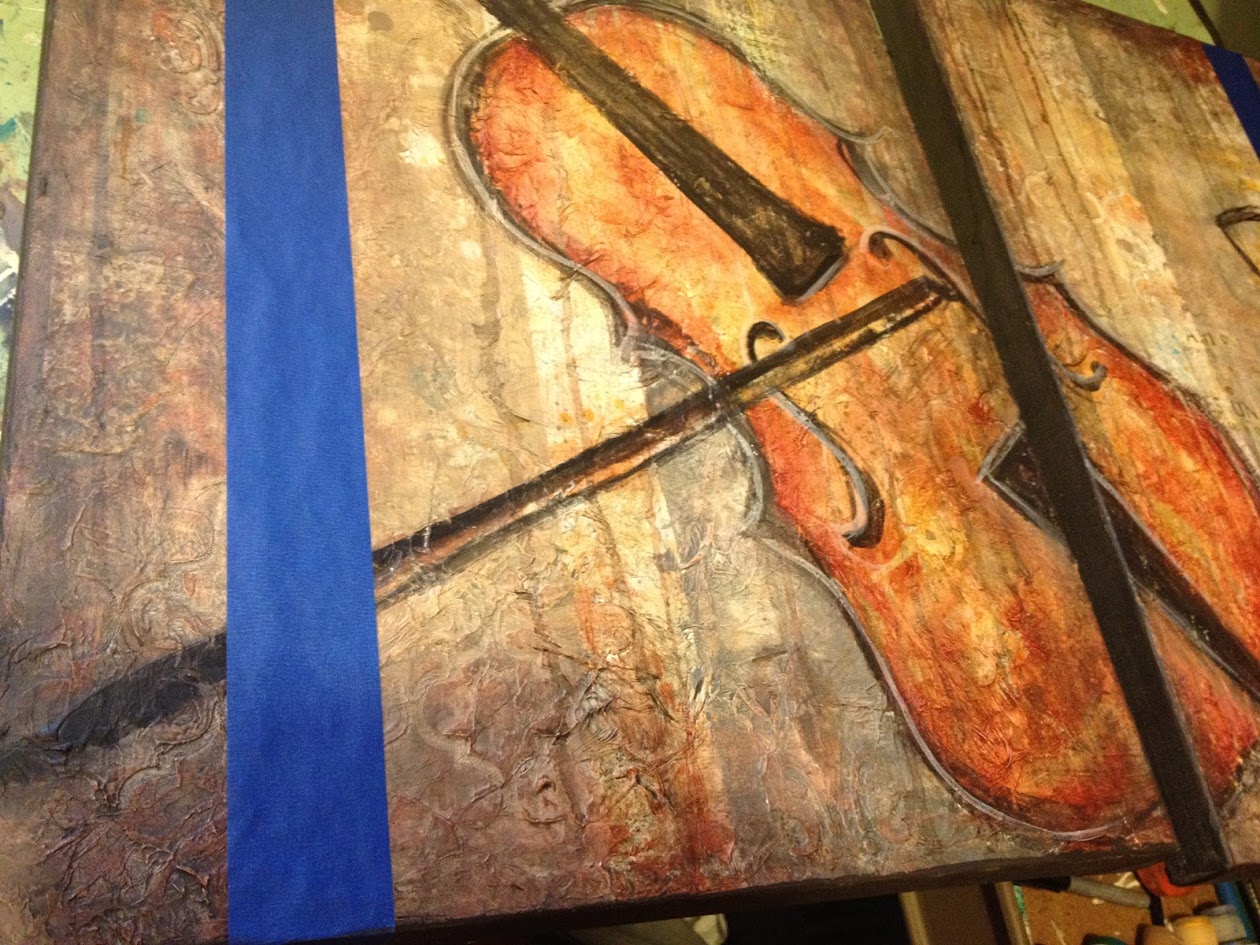
I decided top-down drips and then taping sections to treat with a transparent wash would be my next two techniques for building up the color. Also filled out the black more on the cello. Painted the edges of the canvas as well. I feel like I get a better idea of the finished product sometimes if I paint the edges before the end.

The texture is starting to make some cool effects!
I had a few pet places where I tried to leave music showing through.
A lot of my techniques require the canvas to be lying flat on my work table, but putting it up on the easel makes is MUCH easier to see what areas I like and what I need to change. The tape line was way too strong on the far left side, I wanted the cello more stylized and the background more unified in places, to name a few things I noticed at this point.
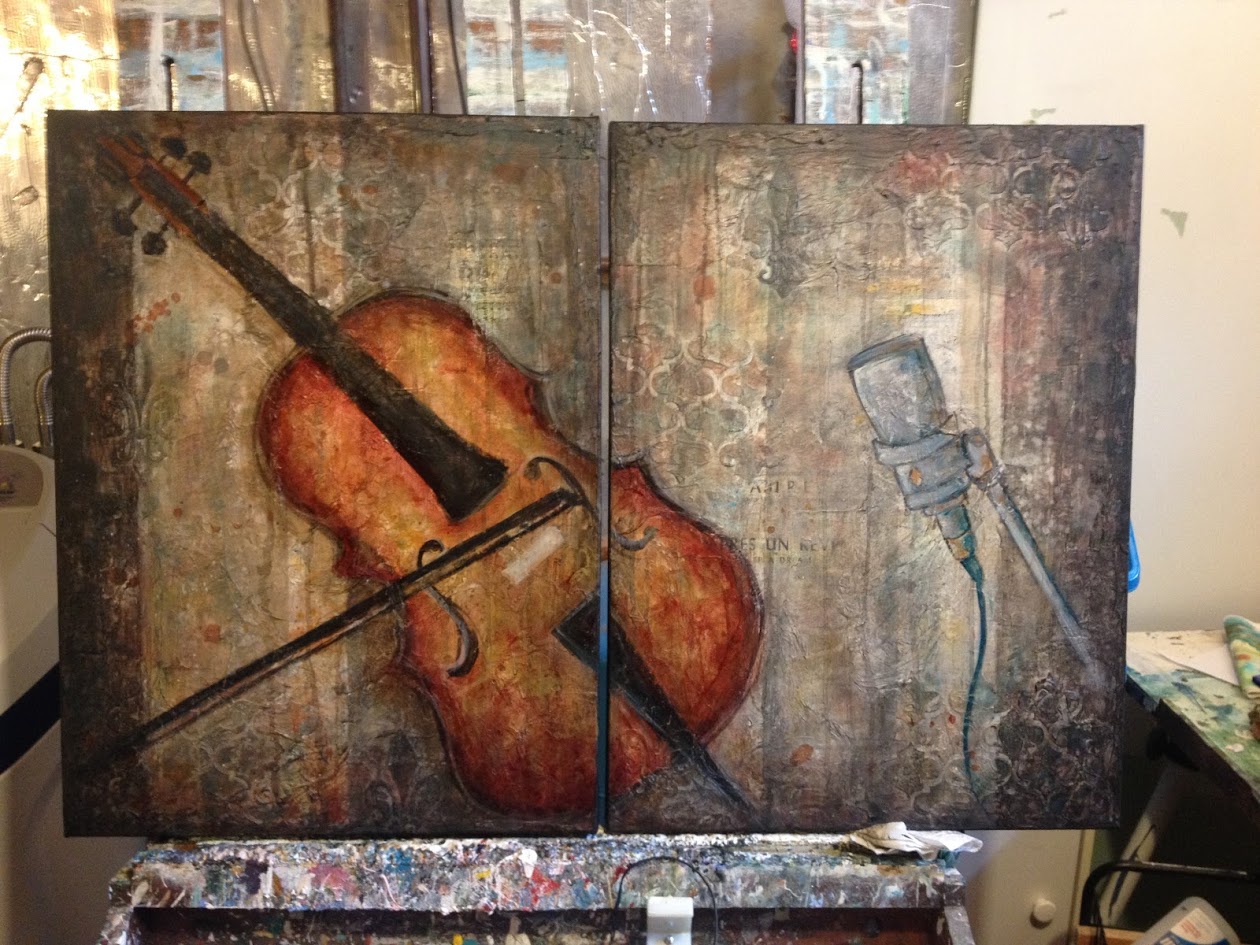
Here is what it looked like with those changes, but not in natural light, so the colors are not as true to real life…but you get the idea.
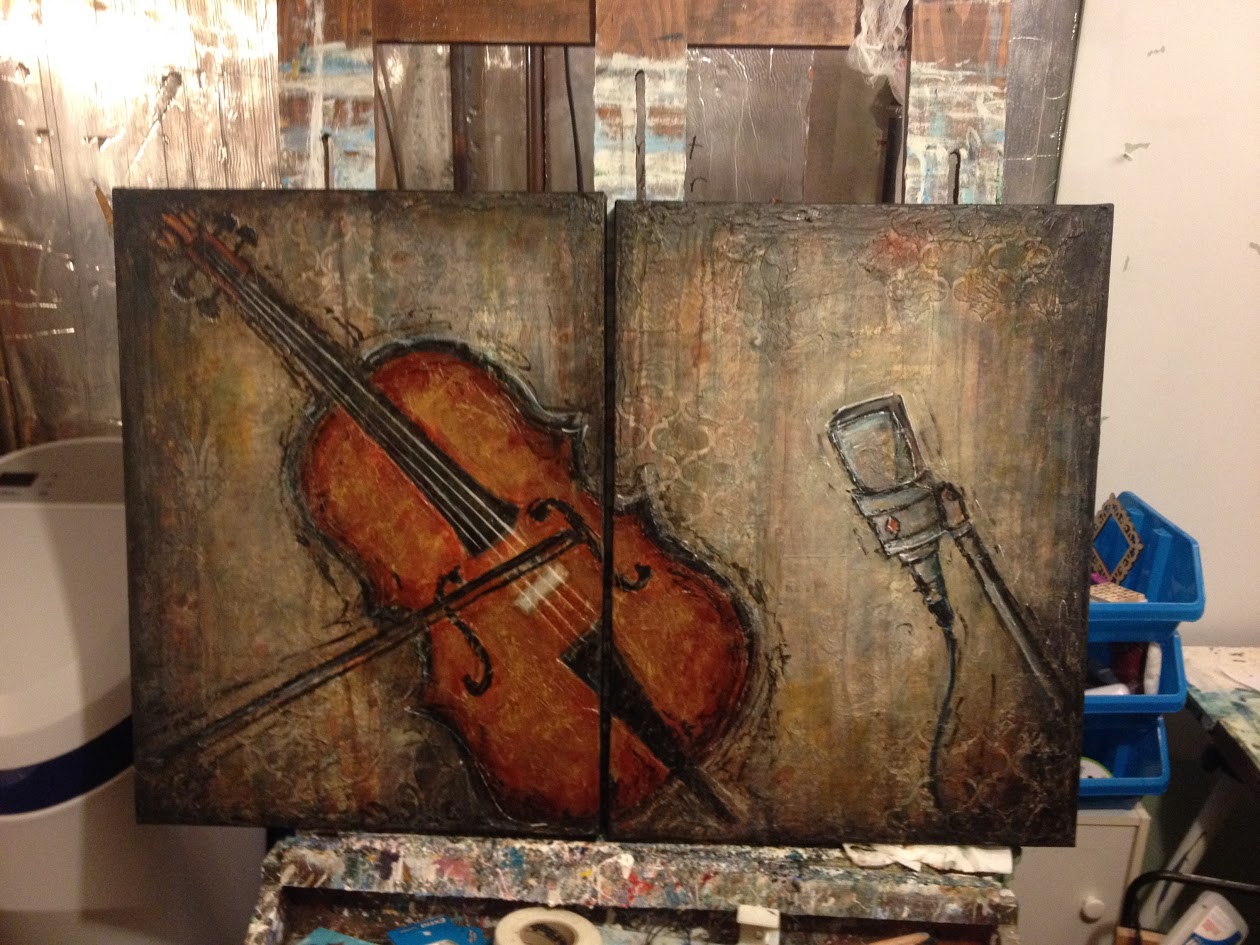
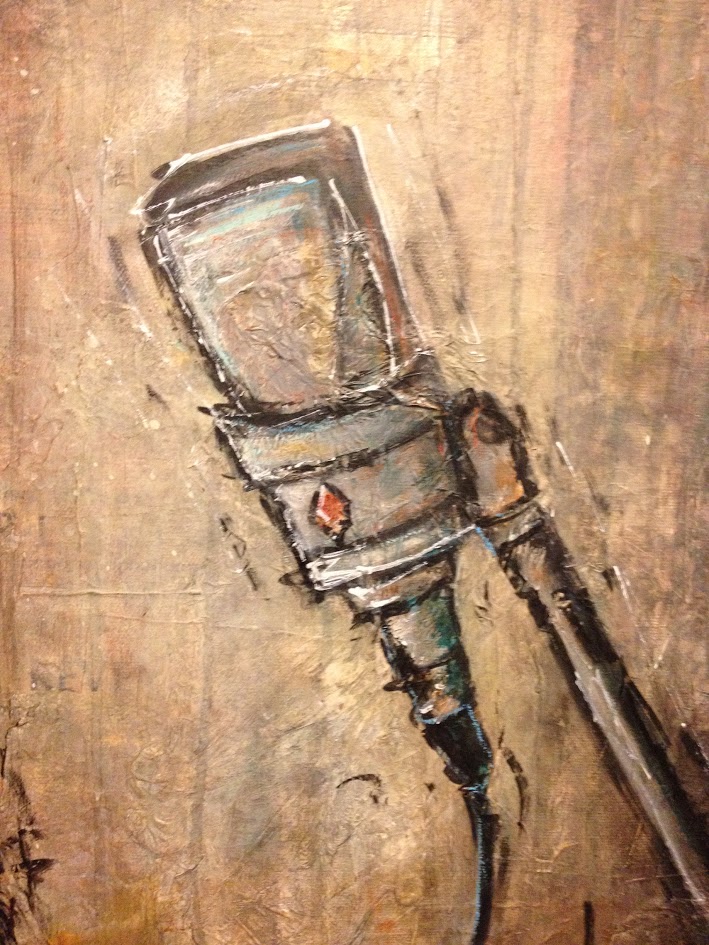
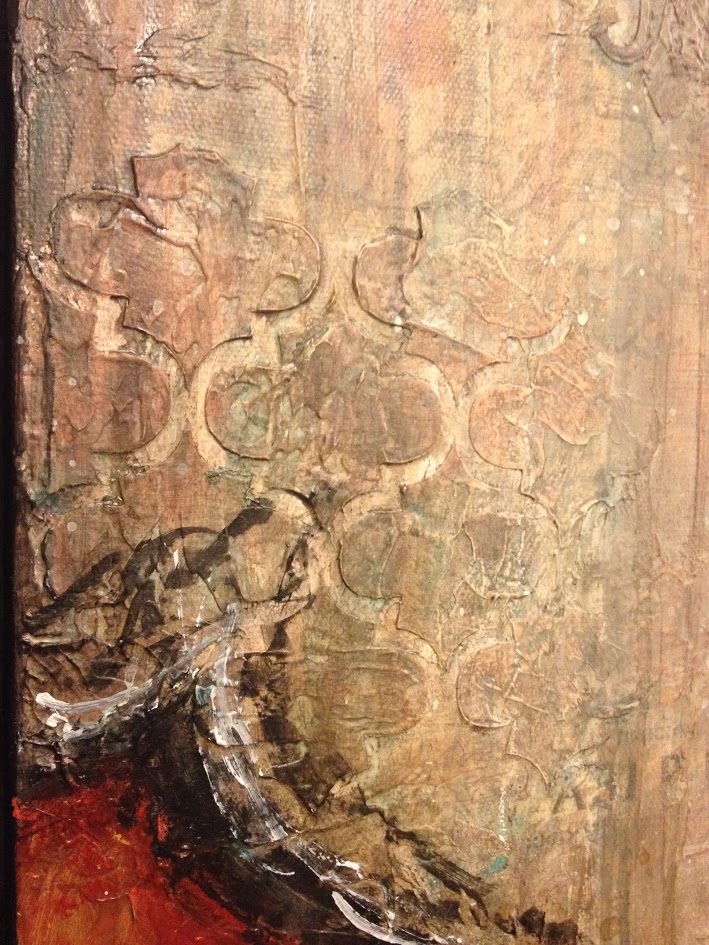
Close-ups…
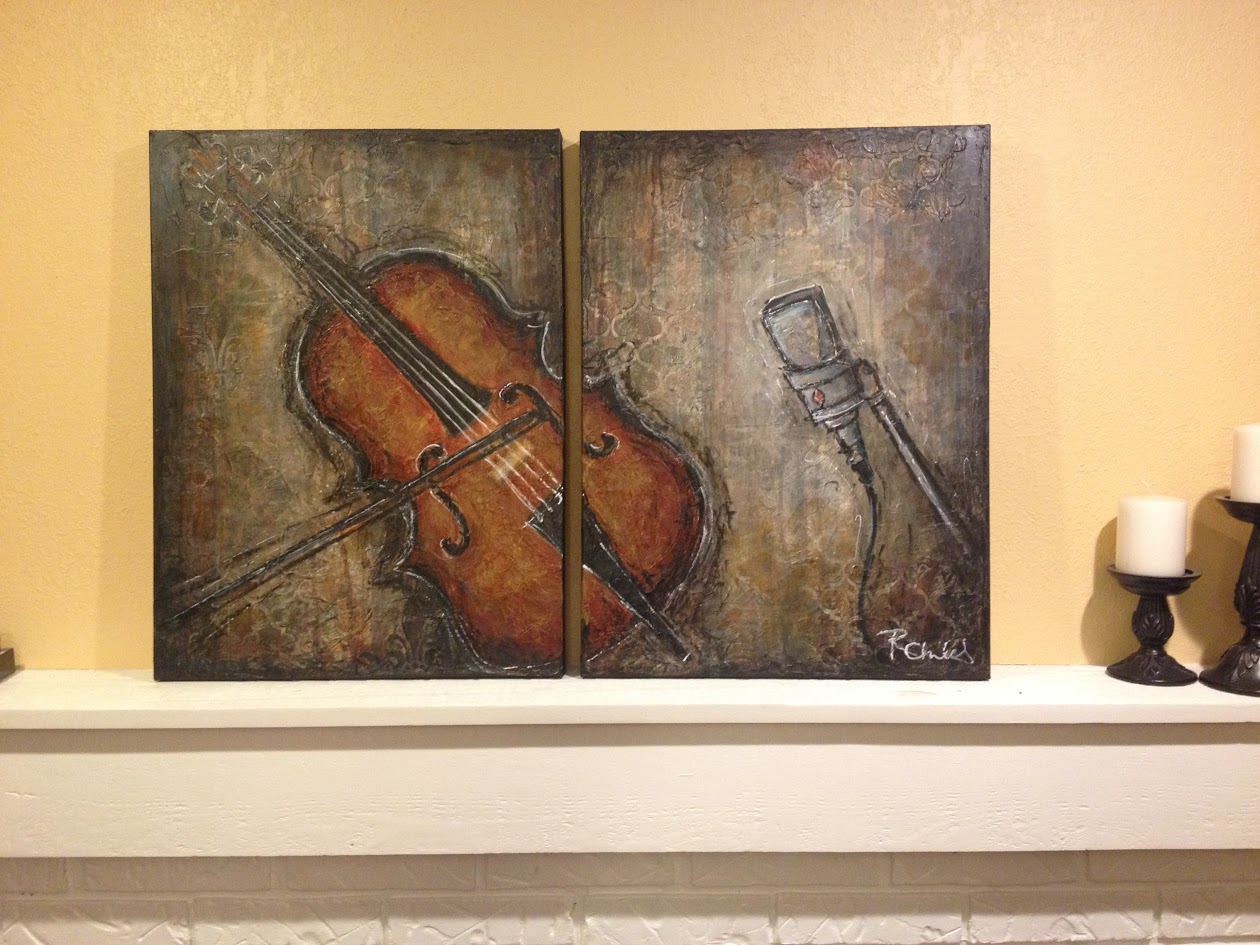
On my mantel in this pic, though Paul will be hanging it with a light gray wall color behind it at home.
Paul and I after I had presented the finished product–straight from my studio and with fumes of finishing spray in my hair!
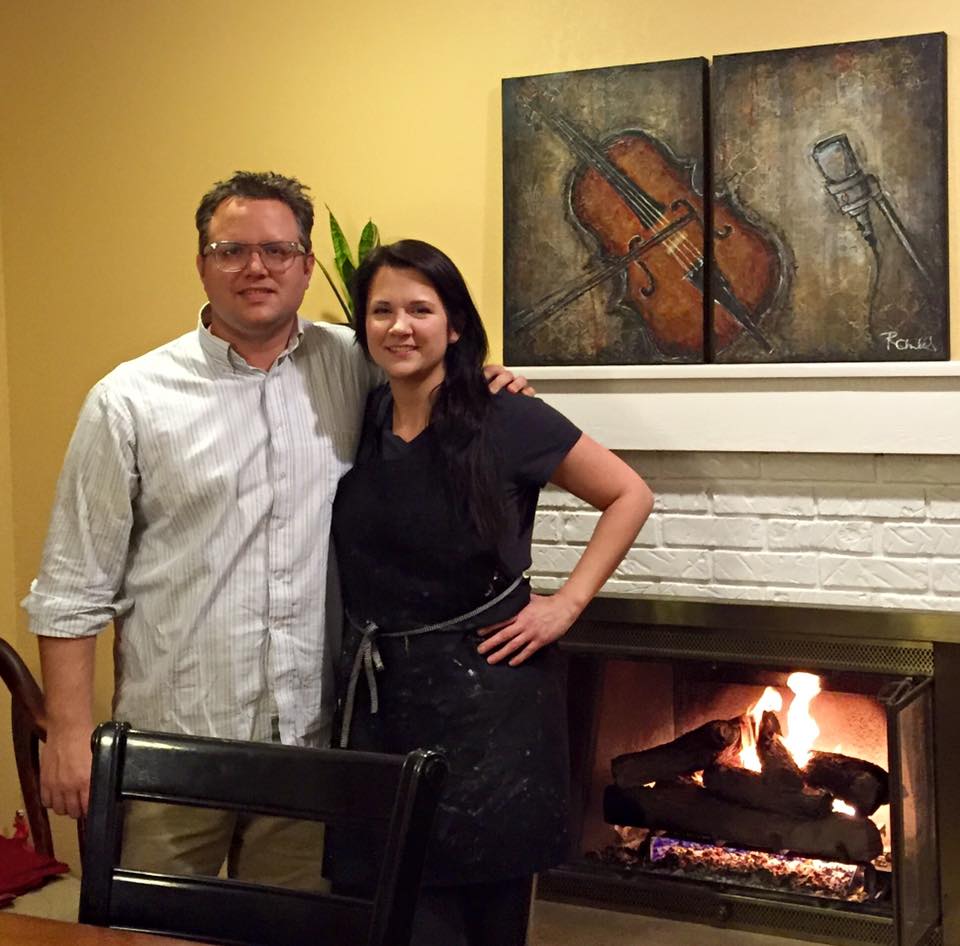
Thanks Paul, for being easy to work with and making this first mixed media commission a positive experience!
Now, for any of the rest of you ready to go on the custom art adventure with me….I’m offering commission pieces in 5 sizes HERE. A different size can be accommodated for as well, just email me for more details and pricing: [email protected]
NEW COUPON CODE: PROMO20 for 20% off the entire shop–including the new custom order listing!
Likey.Good stuff BC!